Designing, making & sharing a creative life by the sea.
A creative lifestyle blog sharing my journey through graphic design, art direction, sewing, handmade pieces, printables, DIY projects, and favorite finds.
I originally bought this green striped set during my last pregnancy because I wanted something loose and comfortable. Afterward, it was much too big on me, so I listed it on Poshmark — where it sat for quite a while without selling. Eventually, I decided I’d rather do something with it myself. I still loved the fabric, and once I started sewing more, I kept thinking about how cute it would be turned into a little outfit for my toddler. So I took it down, cut into it, and gave
From design school and art direction to resin, photography, DIY, sewing, and everything in between—here’s the story behind Artisan by the Sea. Hi, I’m Ashley. If there’s one thing that’s been consistent throughout my life, it’s that I’m usually making something. A lot of my creative story started in design school. It’s where I really began figuring out what kind of creative I wanted to be—and where I met my husband, too. I went on to earn my BFA in Graphic Design, and what st
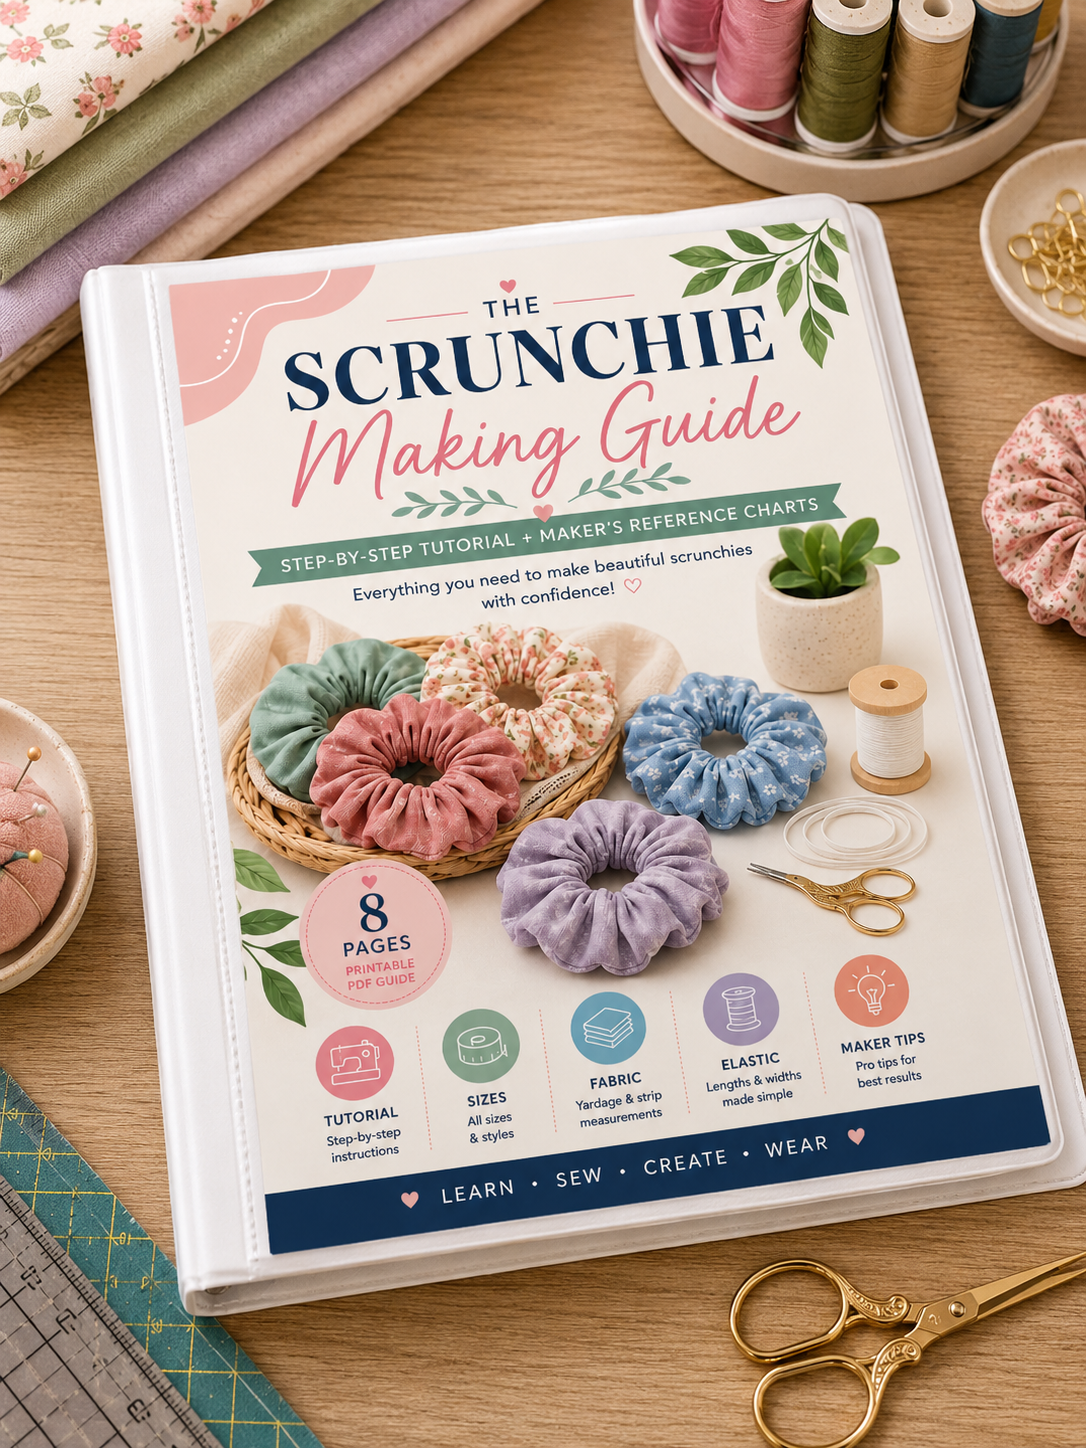
When I started making scrunchies, I kept looking up the same information over and over again — fabric sizes, elastic lengths and how much fullness I wanted. Eventually, I started writing everything down so I could stop searching for the same measurements every time I sat down to sew. The Three Things I Pay Attention To For me, the biggest differences come down to: Size — smaller for little ponytails, larger for a fuller statement look Fabric — lightweight cotton, linen blends
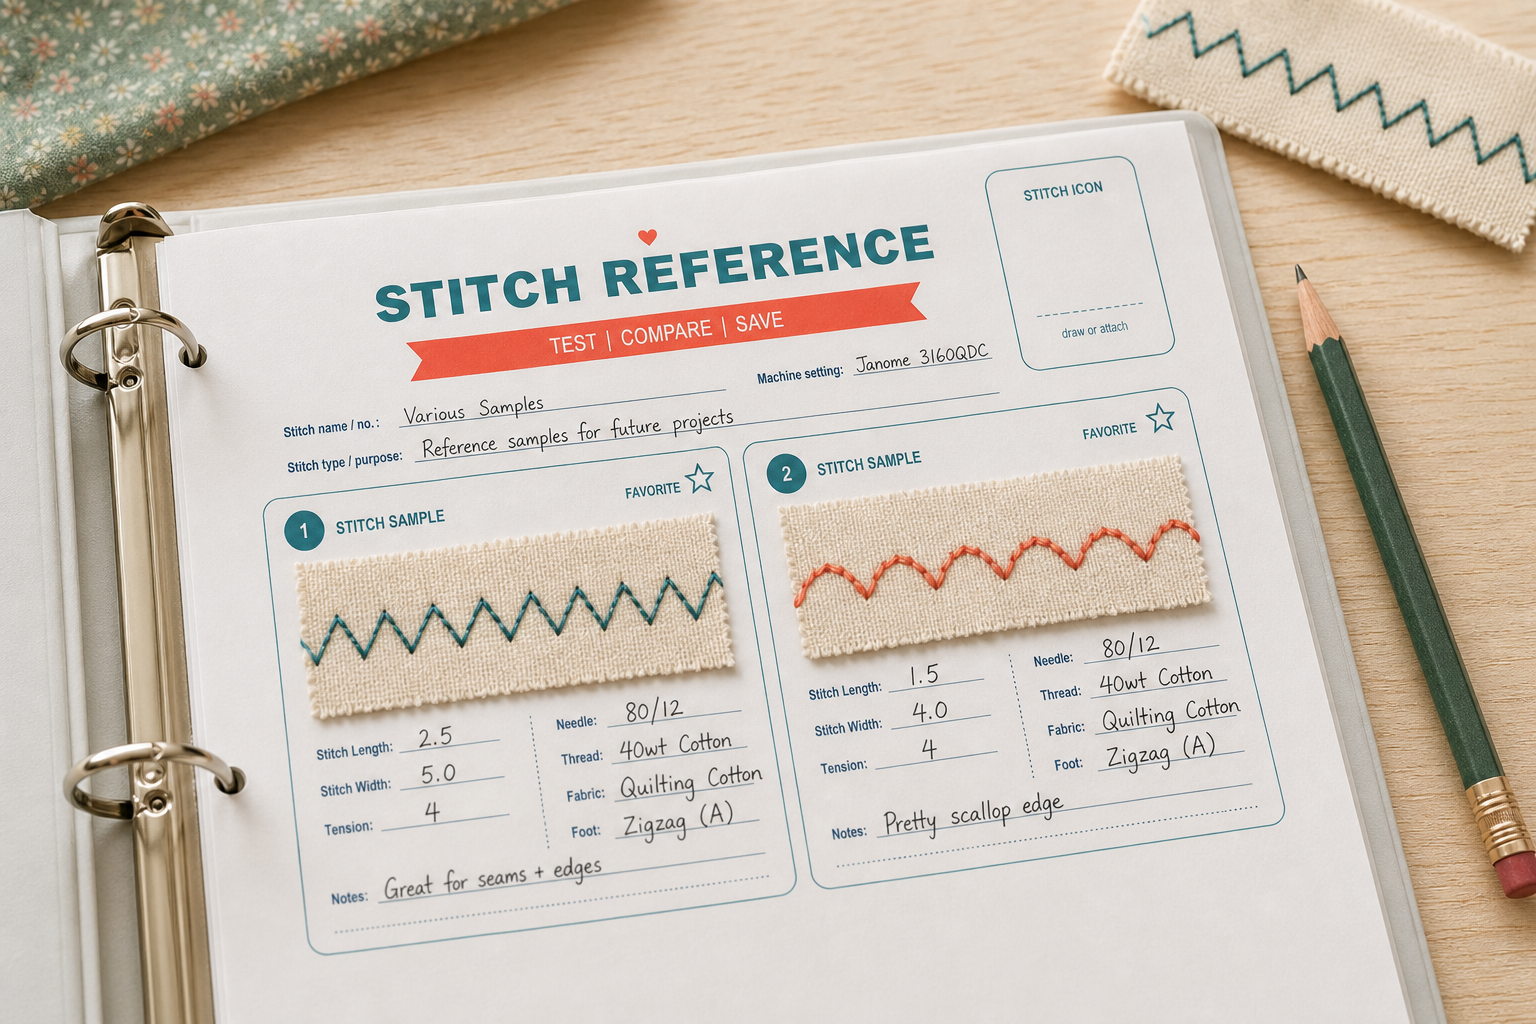
How saving my test swatches helped me stop guessing, remember what worked, and feel more confident at my sewing machine. As a beginner, I spend a lot of time experimenting with my sewing machine. I try different stitches, adjust the length and width, change the tension, and test everything on scrap fabric. Sometimes I finally find settings that work beautifully—only to forget them by the time I begin another project. That’s why I started saving my stitch samples. I Thought I

.png)